*** GIVEAWAY POST FOR 500 OR MORE FOLLOWERS IS DATED SEPTEMBER 1ST, 2011***

Please leave your comment under the GIVEAWAY post for consideration in the drawing. Once I reach 500 followers I will select a winner! Thank you kindly.

Friday, May 14, 2010

FABULOUS FRIDAY FIND-FREE DOWNLOAD-ORNAMENTAL BOX

This week I found a file to download which can be used as an ornament box, a favor box or even a carrot.

I am certain all you crafty folks can think of a million ideas.

Free downloads are great for crafters who don't own die cutting machines like the Cricut or Big Shot. Or even if you do, sometimes you don't want to look through your cartridge library or run the machine. It's nice to have some preloaded images on your computer as go to downloads.

Here's the file:
carrot and icicle box_mf.svg

Here's a sample of what it looks like as a carrot made by Denise over at Paper Pastime:


This is truly versatile because by changing the paper & fillings you can adapt it as a birthday party favor, a holiday favor, a wedding favor, a bridal shower favor or just an ornament dangling off your Christmas tree or used for home decor.

I hope you enjoy this free Friday find.

Happy Crafting!

Tuesday, May 11, 2010

"TOOL TIME TUESDAY" EASY BRADMAKER

Hello Bloggers!

This week's tool is the new Easy Bradmaker by Chatterbox.


A few week's ago I highlighted the I-TOP by Imaginisce which is also a brad maker but for those who wondered if there was anything easier out there...Chatterbox has come up with a solution.

Can you tell I love brads?

Get ready to hold in your hands the most unique & completely customized embellishments you have ever seen… and the best part is, you will have made them yourself in just a matter of minutes! When you’re done, you’ll find a million ways to use them on all of your artsy projects... from paper-crafting, to jewelry making to adding special touches to home décor projects.

You can create unique brads in 4 easy steps
1. Punch out paper, photo or printed message to use as center of brad
2. Adhere appropriate sized crystal to punch-out
3. Apply spot of adhesive to back of punch-out circle
4. Attach crystalized punch-out circle to matching sized brad.

The starter set includes: 8 large brads, 10 medium brads, 14 small brads, 3 punch tools, 1 sheet of self-adhesive epoxy crystals, and 1 sheet of self-adhesive circles.

This would work great for making custom buttons too! You would simply buy clear buttons, chose your paper , photo, monogram or message, punch it out and adhere it to the back.
So super simple!

I noticed that OVERSTOCK.COM had it at a really great low price of just $16.99 but I am not sure how long that price would last. The $2.95 shipping is a money saver too unless you can get free shipping.

If you love brads & buttons as much as I do and relish in the thought of being able to customize your own, I think this tool is a must for you.

Happy Crafting!
Let me know if you love it :)

Monday, May 10, 2010

CRAFTING TIP OF THE WEEK (#36) PERFUME BOTTLES

Hi Bloggers!

This week's tip offers up an interesting way to make use of perfume bottle caps.

Are you looking to add a faux door knob to a mini album cover or a fabulous accent for a shadow box?

If you have perfume bottles don't discard the caps once done with your lovely fragrance.
Start a collection of perfume bottle caps or lids only.
You can attach them to your crafty projects with a strong, wet adhesive like E6000 and with a little ingenuity and careful placement that cap will be a beautiful accent piece.

You can also drill a hole through it with your Fiskars drill if you have one and string it through some fabulous ribbon.

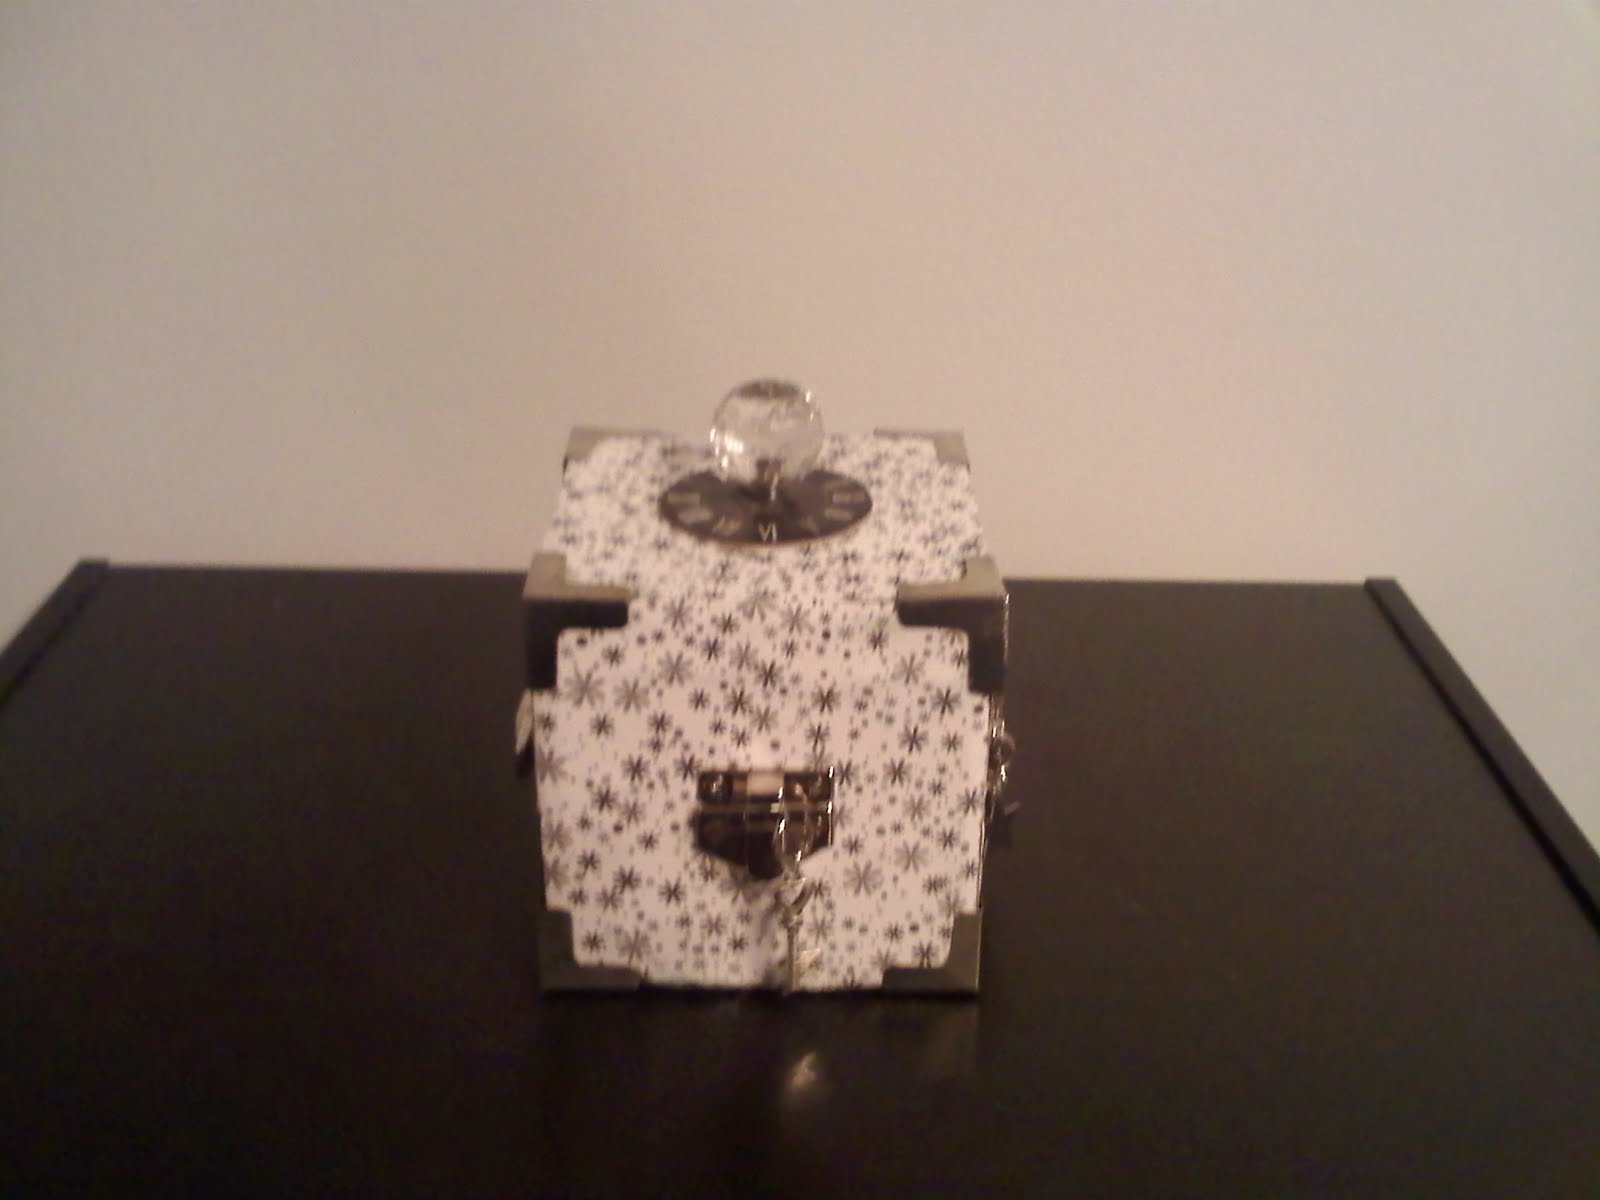
Here are 2 caps I have removed from empty bottles that I plan on using as knobs for the cover page of mini-albums:


Check out the wood block I embellished to use as home decor where I incorporated a perfume bottle cap on the top.


Just another use for something you might have otherwise discarded.

Flea markets & antique shops may prove a great source of luck at finding some one of a kind perfume bottles.

Have fun trying this tip!

Remember though you must use a super strong adhesive. Also when storing what you embellish with the perfume bottle cap, be careful of its' placement.


P.S. sorry for the poor quality of the pictures- they were taken with my cell phone.

Friday, May 7, 2010

FABULOUS FRIDAY FIND-FREE DOWNLOAD FOR THE BOW EASY

Happy Friday Everyone!

Today's fabulous Friday find is a FREE download for the Bow Easy which I featured as the tool of the week.

Go to : http://www.box.net/shared/iyd0xdtjl4 and get yours free.

You should try to print it out on heavy cardstock then trace the pattern on a light chipboard, acetate or lightweight plastic. You would then cut it out and have your very own FREE BOW EASY.

Have a great weekend.

Tuesday, May 4, 2010

TOOL TIME TUESDAY-THE BOW EASY

Hello Everyone!

This week's tool time highlights the "Bow Easy".

A lightweight, plastic gadget that allows you to make bows in different sizes.
Check out the video below:


NOW STAY TUNED FOR FRIDAY'S FABULOUS FIND BECAUSE IT WILL "TIE" BACK TO THE BOW EASY.

Thanks for stopping by.

Monday, May 3, 2010

CRAFTING TIP OF THE WEEK (#35) COMFY CRAFTING 101

In this week's tip I will focus on how to create an ergonomic space for crafting.

Recently I have offered up tips on craft spaces from setting up to paring down.

This week I am still focusing on our craft spaces while addressing a personal and environmental need. One that you may not have thought to make part of your focus when crafting.

Why would you want an ergonomic space you ask?

Because it is going to allow you to craft comfortably and be more in tune with your body, your art form and your environment.

Haven't you ever experienced craft related discomfort or pain? When you perform repetitive tasks you can cause muscles, tendons and or nerve tissue excessive wear & tear. As crafters, we typically practice risky postures such as hunched shoulders or backs, over reaching for tools, bent wrists, long periods of sitting & more.

By making simple changes to your posture, your work space and the way you set up your crafting area you will notice a difference.

Here are 4 essential things you can change:

1- POSTURE: this will almost immediately make your body feel better. Height & weight are your big factors here. Your back should be straight when sitting with a slight, supported curve in the lumbar or lower back region. The neck & wrists straight,shoulders relaxed, hips parallel to the floor and knees bent at a 90 degree angle. Feet should rest flat.Your work surface should sit more or less at forearm height. Your furniture should suit your individual stature.
My chiropractor gave me this information. (Thank you Dr. Reed)

2- REPETITION: this is a tough risk factor to control when crafting but we have to try because it increases strain & pressure on the joints, tendons, blood vessels & nerves. If you have ever experienced Carpal Tunnel Syndrome you know it can be caused by repetitive movements such as the ones we endure when crafting.
The most effective way to reduce repetition is to change your tasks & take breaks. Set a timer to remind you to switch jobs or if listening to music set your tasks to the music. Or the simplest thing...take frequent breaks..ie: 10 minutes each hour.
Using die-cuts or pre-made embellishments can reduce the amount of time you spend cutting & trimming eliminating scissor syndrome.

3- FORCE: there are certain tools that cause us to increase force like using craft knives or working on a slick surface. If you notice your knuckles turning colors when using a craft knife, there's your sign. Change your grip to help reduce the force. You can also reduce force by standing at a work surface when stamping or punching. Have you noticed all the new forms that punches have taken? Manufacturers have made them more ergonomical & practical for regular use.

4- LIGHTING: this is important because it can affect your vision. You want to increase task lighting to alleviate eyestrain. Proper lighting will also allow you to see your true colors.

As I researched this topic I found a few ergonomic products that may help you in your quest for total ergonomic comfort for far better productivity and overall health.

A Footrest
Pencil & Knife Grips
A Lumbar Pillow
Daylight Task Lighting like the OTT LITES
Strongarm Punch from McGill which reduces the amount of force needed to punch
Fiskars Spring Loaded Scissors
Lever Punches

Take note of how you feel when you're crafting. If you feel uncomfortable or uninspired chances are you could use a little ergonomic tune up.

Happy Crafting!
Sunday, May 2, 2010

I RECEIVED AN AWARD FROM LIZ @ LIZ'S PAPER LOFT


First, I want to thank Liz for this award. It means a lot that she cared enough about my blog to deem me worthy.

Now I must follow the award rules which are:

1. Post the award on my blog.

2. Mention the blogger who tagged me.

3. Give the prize to 5 friends.

4. Post on my blog the link to their blogs.

5. Announce everyone on their blog.

6. Make a list with 10 things that I like.

I'm giving this award to the following:

Janet @ http://lifefullofsunflowers.blogspot.com
Mercedes @ http://stampwithmercedes.blogspot.com
Karen @ http://karenskraftroom.blogspot.com
Julie @ http://scrappinjulie.blogspot.com
Wendy @ http://lvscrappin.blogspot.com

You are all truly inspirational, fun & so talented!

10 THINGS I LIKE: These will be craft related for me because if I went outside those parameters this post would not end.
****WARNING:The post may not end with the crafty goodness either...I will do my best to narrow it down. Here goes...

1- MY CRICUT EXPRESSION
2- BLING OF ALL KINDS
3- FLOWERS
4- STICKLES
5- CARDSTOCK
6- ALL TIM HOLTZ EMBELLISHMENTS ...and ALL TIM HOLTZ!
7- WEBSTERS PAGES PRODUCTS
8- ANNA GRIFFIN PRODUCTS
9- GOOD ADHESIVE (GLUE DOTS, PRO GLIDER GLUE GUN, TOMBO, ETC...)
10- RIBBON

MANY THANKS TO LIZ & ALL THOSE THAT FOLLOW ALONG, YOU'RE ALL TERRIFIC IN YOUR OWN SPECIAL WAY.

Happy Crafting!