*** GIVEAWAY POST FOR 500 OR MORE FOLLOWERS IS DATED SEPTEMBER 1ST, 2011***

Please leave your comment under the GIVEAWAY post for consideration in the drawing. Once I reach 500 followers I will select a winner! Thank you kindly.
Showing posts with label crafting tip of the week. Show all posts

Monday, April 1, 2013

Crafting Tip of the Week #174- Stamp Clean Up


Hi Bloggers!

Today's tip offers a way to help clean off your acrylic, foam or rubber stamps. 

There are all kinds of ways like baby wipes, scrubber pads, wash cloths, running them under water and  stamp cleaner spritz options on the market as well. 

That's all fine & good and I actually use some of the mentioned methods and still do. This tip is not to take away from those options, only to add another.

 One of the things I mentioned above was scrubber pads. 

I have found that I can buy more and save by purchasing "PAINT PADS"  at my local home improvement store which provide the same cleaning action as the scrubber pads. 

If you're wondering , the paint pads look like this: 


They are actually more inexpensive to buy then getting the stamp scrubber pad at the craft stores and work the same way. 

It's just another method to use. 

So if you're in a pinch or find you have these lying around your house from an old paint project you may want to give these a try. 

In this beloved hobby we share that is one thing there is never a shortage of...options.

Have a great week!

Monday, March 25, 2013

Crafting Tip of the Week#173- Downy or Snuggle Anyone?


Hey Crafty Friends!

Yes, I am talking laundry stuff again but this time it's about fabric softener. 

It's today's quick tip and I think you may just love it. I know I do. 

So I am a big fan of fabric softener and to that end I decided that since I use lots of it for not only laundry but to help  remove wall paper from my home (oh yes I did & yes it worked). Well, I recommended to our painter to use it to remove the wall paper. So in actuality he removed the wall paper not me, just to clarify.  He thought I was nuts but in all his years as a painter he said it worked better then the solutions he purchased at home improvement stores. And it was less expensive then those solutions too.  Now I cannot take credit for that as I saw it on an episode of an HGTV show years ago. Just making sure to give credit where credit is due. 

But...as far as crafting goes, I found another use for FABRIC SOFTENER my friends & here it is: 
to clean paint off your paint brushes!

Simply soak your brushes in for 10 minutes  and it cleans right off! 

It just breaks down the paint fibers attached to the brush fibers so well and BONUS...your brushes smell great. I remembered how well it broke down the fibers of that old wall paper in my home & thought what if it can do the same for my paint brushes? So I tried it and it worked. 


Who knew?


Monday, March 18, 2013

Crafting Tip of the Week#172- Caps as Cups?


Hello crafters!

Yes, I know...curious title right?
I do try to get your attention, can't blame a girl for trying.

This one is all about using your "laundry detergent caps as cups".

You know the ones, they look like this: (But not the ones with the spout in the center)


I simply use them as vessels for mixing paint or pouring in inks, gesso, gel medium, etc...I think you get the idea. They have a small footprint making it easy to set it aside on my work space & it will stay in place. I also appreciate the high wall giving you plenty of space to fill the cap as you would a cup.

You can pour your medium of choice in gradually & in increments. I always like to start with a little & add more as I need to. It saves from waste and has helped me avoid spills. My smaller / shorter paint brushes and foam brushes fit inside well and can actually stand in the caps too.

It's yet another way to craft-cycle everyday items around the house that you would otherwise discard. 


P.S. Is it crazy that as I was finishing the post I thought of another tip for these?
I'll share it just in case you're wondering- even though I have not tried it myself. What if...

You took a bunch of these and lined the inside of a kitchen or cabinet drawer from end to end and used them to store stuff? ( I suppose you could adhere them/connect them with a strong adhesive like E6000).

You know...like brads, clips, buttons (oh...using the coordinating color of cap to indicate the color of whatever button is inside)...the hamster wheel in my head is spinning!

I am sure you can think of more ways to put these functional caps new life in your craft space or around the house by recycling.

Thanks for tuning in. 


Monday, March 11, 2013

Crafting Tip of the Week#171- Paper Piercing Perfection


...yes, paper piercing perfection crafters. It's over-rated the art of piercing right? Well, not really but sometimes getting it right can be as much of pain as stabbing your finger with the piercing tool.

For today's tip I hope to take the stigma out of it for you so you can reach paper piercing perfection in 2 easy steps.

Ready...here goes: 

1- USE FOAM AS YOUR BASE UNDER YOUR PIERCING MEDIUM. Whether it's paper, plastic, fabric, vinyl the FOAM will be of great help.

The foam provides a great barrier between your fingers and of course your actual crafting surface. You should still use a cutting mat but you will get one with a lot less scratches, raised bumps or tiny holes from your piercer. It also allows for steady, controlled insertion & removal of your piercing tool for more even and uniformed stitched holes.


You can purchase  inexpensive fun foam you can find at arts & crafts stores, Walmarts and/or Targets and keep it on hand.

2-GRAB A HOLD OF ONE OF THESE: 


THEY ARE PLASTIC NEEDLEPOINT CANVAS MESH.  These will help give you even, straight & perfectly aligned piercing holes every time. Any of these will work for random piercing. If you are looking to pierce those shapes specific to the canvas mesh,  they will be of greater assistance then.

Best thing is you can pierce that same shape in many sizes by simple selection. You can use a pencil, pen or marker in place of the piercer first to draft your shape. The closer to the center of the canvas mesh you are the smaller your shape will be. You can remove the mesh, review the "draft" then if you are happy with it-proceed to piercing. ( OR...leave as is)
You must use the PLASTIC MESH. It provides a little more stability & rigidity than the other ones on market. I believe there are ones of varying materials like raw canvas, burlap & materials.
The plastic ones are lightweight but have more stability within each of its' tiny "walls". Not to mention they are easy to store & work with as well.

These can be found in craft stores like Joann's, Michael's, A.C. Moore &  Hobby Lobby but I am not sure about Walmart & Target. I know they have them online as well at Consumer Crafts.

Both the foam & the canvas mesh are relatively inexpensive averaging from .29 cents & up (U.S.) for one sheet of foam to .59 cents & up (U.S.) for the canvas mesh. Pricing varies depending on retailer & size you select of the product.

Personally, I think they are a relatively inexpensive solution to  sometimes pesky problems with piercing. Two well known ones being the proverbial accidental pricking of the finger and misalignment.

If you are plagued with the same piercing dilemmas give this tip a try.
*Painless Paper Piercing Recipe*
1-Cutting Mat
2-Fun Foam
3-Plastic Canvas Mesh

Until next time,

Monday, March 4, 2013

Crafting Tip of the Week#170- "Uh, Oh, Uh, Oh- Stuck like Glue"...


You & me baby we're stuck like glue... or maybe not us so much but  your ink spray  nozzles.

Has this ever happened to you crafters?

Where you go to spray or spritz your Glimmer Mists, Lindy Stamp Gang Fabios or Perfect Pearls sprays and the atomizers are "STUCK". They won't function for ya. Nothing's spraying out of the nozzle. The whole is covered in goop or something is blocking it from releasing your color sprays.

That's usually an indication that there is caked on ink residue that is blocking the atomizer from actually performing its' function. It's gummed up and not allowing the ink to make its' way out of the hole & onto your project.

So what do you do?

Today's tip is what I do.

I...
- unscrew the caps
- throw them into BOILING water!  When the water is boiling remove from your stove top or the microwave then throw your caps in
- let them sit in the boiling water for approximately 5 minutes or until the water cools to the touch allowing the caps to soak

-tap off any excess water & squeeze the pump several times to get the atomizer function going again as if you were spritzing your project with ink
-use a paper towel or dish cloth to scrub off any visible residue from the nozzle & cap

The hot, BOILING water actually helps break down the residue and releases the gunk from the atomizer completely, clearing way for your inks to spray out as they should.


This works for me & I find that I don't have to use any expensive cleaners to get the job done. Also, it salvages my spray inks and keeps my atomizers in functioning order.

Let me know if you try it & how it works for you.

I appreciate your visit & hope you were able to glean something helpful.

Monday, February 25, 2013

Crafting Tip of the Week#169- Got Left-overs?

Left over alphas that is my crafty friends.

Do you find yourself having extra letters in your stash of alphas?
Why not put them to use by monogramming?


I love the idea of personalizing my crafts especially those I make for gift giving, how about you?

Why not combine those two aspects of our craft world and use extra, left over letters to monogram.

You can monogram scrapbook layouts, mini albums, shadow boxes but you can also take cute trinkets, baskets, vases, potting plants, frames, plates and other household items and doctor them up with your left overs.

Check out some of mine below:

I made napkin rings which I monogrammed with the letter of each dinner guest using these black & white chipboard letters I had left over from a set of letters.


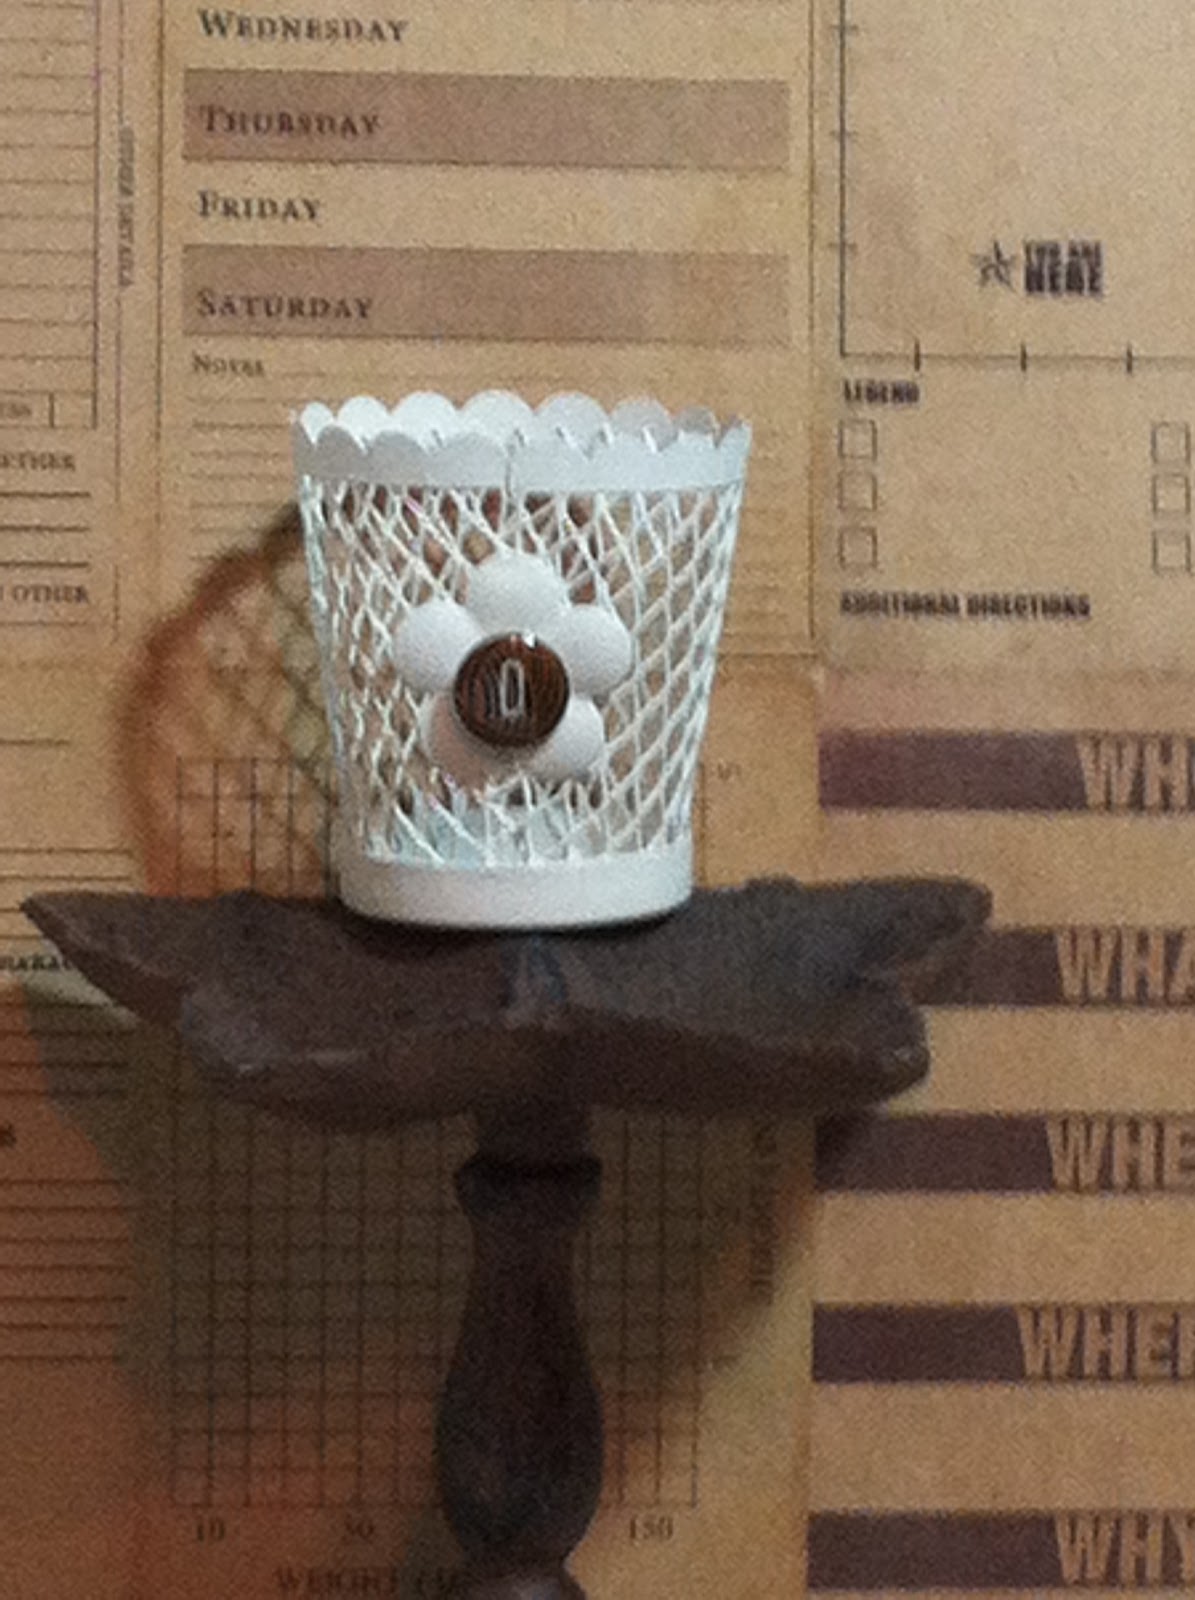
Then I monogrammed a little votive holder which I am actually using to place a bunch of chalk inside of to gift along with a desk top chalkboard...the recipient's name is Olivia. I used the  "o" as a center for  the flower. 


Lastly, I monogrammed a little notepad for my youngest daughter. I used some left over plastic, Heidi Swapp letters from an old collection I had hanging around.


I love monogramming!

Now go through your collection of alphabets & see what great things you can personalize &  monogram.

I feel like monograms are so personal and add such a special touch to anything. They really say, "hey...I made this with you in mind"! So next time you have a gift to get, think about personalizing it with your left over letters.

Letters come in all sizes, shapes, dimensions and even if you just die cut some out of plain ol' cardstock you could always jazz them up & put Glossy Accents on them to make them stand out.

The name of the game here is...try using your left over letters in clever ways. Monogramming is one of my go to ways.

How about you? Got any ideas for left over letters?

Hope this one sparks many!

Take care & have a great day.

Monday, February 18, 2013

Crafting Tip of the Week#168- Measuring Up!


Good Monday to you all!

Today I thought I would share a little info about measurements on your paper cutters & trimmers. 

I for one struggled in the early days with getting measurements correct when using trimmers. 

I never really had anyone show me how to use one and I could not recall for the life of me all that I learned in school (way back when) with regard to measurements. 

So I set off on a mission to learn. There are some good videos out there. 

But I wanted to have a point of reference that I could keep with me on my workspace so I took an inexpensive measuring tape ruler & basically doctored it up to help me keep my measuring skills in check.
I simply wrote the measurements using a fine point sharpie above the actual tic mark and use it as a reference point. 

I then took it over to my paper trimmer and transferred the measurements accordingly. 

I did not use metric measurements as I am most comfortable with the old school inches. 

Just keep in mind a couple of things. There are 2 kinds of measurement increments. The 1/8th" & the 1/16th". 

I used the 1/16th inch.
So my measurements read as follows: 

1", 1 1/16", 1 1/8", 1 3/16", 1 1/4", 1 5/16", 1 3/8", 1 7/16", 1 1/2", 1 9/16", 1 5/8", 1 11/16", 1 3/4", 
1 13/16", 1 7/8", 1 15/16", 2", etc...

There...that takes you from one inch to 2 inches in one sixteenth increments. 

I found this older video by Angie Kennedy of the Chic'nScratch blog. She does such a great job of explaining how to use your paper trimmer and measuring. She specifically uses a Fiskars Trimmer. She also skips some of my measurements above but it all ends up being relative.

 Check out her video below:


Hope you found this insightful. I know that many of you avid crafters probably know how to use paper trimmers & have the measurement system figured out but for some reason I felt compelled to share this info.

I hope this helps someone out there.
Have a great week.


Monday, February 11, 2013

Crafting Tip of the Week#167- The NOT SO Lazy Susan

Hey Crafty Friends!

I am not sure who came up with name Lazy Susan for this fantastic, shall we call it, versatile "kitchen" accessory.

You know the one...it looks like this:


These fabulous work horses can work wonders in your craft space. Whether you have an entire room dedicated to your crafting or just a small space on the kitchen table. You can use the Lazy Susan for storage and function. 
For instance, you can adhere a piece of styrofoam with removable adhesive on to the platform of the Lazy Susan & use it to hold items you need to paint. Much like frosting a cake, you can spin the Lazy Susan ever so slowly & ensure great coverage on your piece because you are able to rotate the item 360 degrees to get full coverage.  You can also cover the surface of the Lazy Susan so you don't get it dirty or painted on & use it as a surface to glitter, emboss with embossing powders & flock. Love the 2 tiered option too. Great for techniques on top & storage on the bottom. 
I am sure you can come up with a few ideas of your own. Seems to work that way for us crafters. One small idea turns into many big ones and thus terrific products are born in our industry. 

Next time you see one of these "Lazy Susans" I bet you won't think them so lazy anymore!

They vary from $1.00 USD & up. I have even seen a small one at the Dollar store for that ever so wonderful dollar.

Have a great week.


Monday, February 4, 2013

Crafting Tip of the Week#166- Make your Picture Frames Friendly!

Hello There!

Did you guys know that you could avoid issues with photos sticking to frames by doing one simple thing?

I know, last week I covered what to do if your pictures were stuck to a frame but wouldn't you just love for that not to be a problem?

One sure way to do that is by...
 USING PHOTO MATS! Ever notice how most photo mats have a thickness to them. That is by design my friends. It is intentionally done that way to allow for "breathing room" between the photo & the confinement.

Photo mats keep pictures from coming into contact with the glass of the frames.

So keep this in mind when you are placing your pictures into frames.  MATTING your photos is worthwhile. It not only looks nice but it can protect the life of your photo in the frame & keep it from sticking.

Have a great week ahead!

Monday, January 28, 2013

Crafting Tip of the Week#165- Help, it's Stuck & it Won't Come Off...


Hello Crafty Friends!

Have you ever encountered a situation where your old photos have gotten stuck to the glass in their frames? 

Ever wonder how you could remove the pictures without harming them?

If so, I have  a tip to help with those stuck on pics. 

Place your frame (s) into a resealable plastic bag making sure to leave the bag unsealed, then place it in the freezer for a day or two.  Doing this dries out the photos' sticky finish, which is the root of the problem. 
Then, for each frame, use the dull edge of a butter knife to carefully pry up one corner of the picture. At this point the photo (s) should peel off the glass. Now if some of the picture still won't budge, take them to the photo store to see if the staff can help with the issue.

If you still can't get the pic unstuck, then get the photo scanned through the glass to create a copy . At least this way you will still have the photo in tact even if it is a copy. The most important thing is that you have the photo. 

I have encountered this problem and the freezing process worked for me. I am not guaranteeing it but it is certainly worth a try. 

Here's to hoping this doesn't happen to you!

Have a great week ahead. 

Monday, January 21, 2013

Crafting Tip of the Week #164- Don't Bag the Baggie


Hey there Crafty Friends!

Whatever could I possibly mean by don't bag the baggie?

Stick around & I'll tell ya.

At some point we have all purchased clear plastic sandwich bags. They come in many sizes. There are  even small plastic bags in the jewelry section of most craft stores.
So let's not bag the baggies in the traditional matter for which it was created.
As artists, let's bag it our way!


Why not use those bags to store your memorabilia and then adhere them to your mini albums, scrap pages, shadow boxes & other 3D art? That zip loc seal or snap closure will come in handy.

Embellish your average bags with rub ons, paints, stamps & stickers. The tricky part is finding those type of inks, paints, rub ons and stickers that are compatible with the plastic. Remember you can use SCORE TAPE on them.  It will definitely stick anything to it.

Acrylic paint will not work. You can use stencils and Krylon's Fusion paint. You can also use a polyurethane or epoxy based paint on plastic bags. If you don't want to worry about fumes or paint of any kind simply use rub ons or adhere cool items. You can also attach things with colored staples, your Tim Holtz tiny attacher or the standard stapler.

Then you can place items like baby's first haircut strands, 1st tooth or many baby teeth, ticket stubs, extra  photos, little tiny toys, playing cards, game pieces, etc... inside of the bag, zip & seal. When it's all filled, it's ready to get adhered to your project.

Using the bags can not only provide extra dimension for your project but can serve to hold items of significance that normally wouldn't make it in your scrapbook layouts or mini albums.

If you are worried about the acid free factor then simply place in a way where it does not directly come in contact with your photos.

Imagine the possibilities.

Have a wonderful week.

Monday, January 14, 2013

Crafting Tip of the Week #163-Cupcake Container Craft-cycling


Hello Crafty Friends!

Today's tip is all about craft-cycling again, so let's get to it then.

If or when you purchase cupcakes from your bakery- KEEP the containers. 

They are great work horses for your crafting space. 

Here's what I am referring too:


Here's my list  of several uses. And by the way, take advantage of the fact that it has a lid. It can close and contain. As always, use up your crafty supplies to jazz it up. 

 1-Use it to hold your smaller spools of ribbon- the little round ones can lay in there beautifully. You would even be able to stack a couple up. So with a cupcake container which holds 12 cupcakes, that is 12 openings just waiting to be filled.

 2-Use it to hold specialty embellishments

 3- Use it to squirt paints and even water into the deep wells for your paint projects. Then when you are done you can wash it out, dry it & repeat at a later time. 

 4- Use it to coral your office supplies in a creative way. Like push pins, paper clips, binder clips, etc...You can embellish the cover and keep it on your desktop.

 5- Use it as a vessel to contain votive or tea light candles that you can gift. Of course as crafters you know that no gift would be complete without our crafty touches, so go ahead- embellish it. 
6- Use it to store & sort your buttons by color

 7- Use it to store beads by color, type, size, etc...

 8- Use it to store collections of embellishments by vendor. So if you had Tim Holtz goodies, each cupcake hole could hold a different Tim Holtz only embellishment. 

 9-Use it to sort & store flowers
10- Use it to place your embossing powder jars inside. Not all sizes fit in them but the smaller pots do.

**Bonus #11*** You can also use it to store your washi tape rolls.


Each time I thought okay, I have enough uses another would pop in my head. 

Hope you find this one useful. Go ahead- grab some cupcakes! You know you want to.

Have a wonderful week!

Monday, January 7, 2013

Crafting Tip of the Week#162- Write That Down!


Hello & Happy New Year Crafty Friends, Followers & Newcomers!

I hope your holidays were joyous.

Thanks for tuning in today.


For today's tip I wanted to share a few  ideas on how you can help jump start your memories in order to document your life stories, memorable moments & to capture the special occasions in print. 

You already probably take lots of photos but sometimes there may be so many that you can lose track of the who, what, when, where & why's.

So here are a few ways to help you keep your stories straight:

1- Keep a memory jar if you have a specific project in mind. For instance, if you know a wedding is coming up.  Start with an empty jar, a pad of paper & a pen/pencil. Decorate your jar. Label your jar with the year and the occasion & have it at the ready to add special quotes, memorabilia, pics, samples, swatches & written snip its of memories made when getting ready for the wedding. From the bridal shower, shopping for the bride's dress, daddy/daughter dance, etc... As you collect items & make the memories you can simply grab a sheet of paper inside your empty jar and jot down the date, time, place & details. Once you have the jar full and are getting ready to assemble a scrapbook mini, page or entire wedding album- you will have lots of written details to go along with your masterpiece. No more struggling to remember the 5 W's.

2- Use a recipe box with the inserts to jot down special moments, dates, funny things your kids say. You can simply assign one divider per family member. Then you can add the recipe blanks inside the box and have a pen handy in or on the box. Embellish your box & keep it handy, that's key! If you have it close by it will serve as a reminder for you to write down the memories as they are made so you don't forget the details. Isn't it all in the details?
The funny things your kids say & do, your corky mishaps, senior moments, dares, accidental mishaps that turn into fortunate situations. You want to capture it all. 

3- Use a rolodex. They come in all varieties. Make it your own & set it in a place where you will always see it and have access to it. Keep a pen handy. Use the alphabetical dividers for different purposes. You can recover them  and title them birthdays, anniversaries, one per holiday, one per family member,  everyday , etc...You can easily go to that subject matter & write down whatever memory you want to keep & document including those special little details that will coincide with a photo or just be something worth writing about.

4- Keep a journal or notebook w/ pen at the ready. In a kitchen drawer, on your desk or your bedside table. A place where if you need to quickly access it you can & write your stories.

5- Use a calendar! These are inexpensive and you can easily write in the squares. They come in a myriad of sizes so if you need a big one you can buy a big one. The desktop version is fabulous b/c of its' size but also because you have the month, day & year already available. You simply just write your special memories in the corresponding box and you will have it there to reference when you finally get around to scrapbooking those memories. I think this last one is my favorite.

The pictures are fantastic but let's face it, there are times when we can & do and probably will again forget some of the details. Wouldn't it be wonderful to have your journaling coincide with the pics? I am certain that when you, your loved ones & friends look at your scrapbooks and layouts they will appreciate the stories behind the photo and understand it so much more. It will make a complete memory of your photos. Pictures are worth a million words but sometimes you need just only a few to convey more than the photo alone can say.

Isn't it all in the details?
The funny things your kids say & do, your corky mishaps, senior moments, dares, accidental mishaps that turn into fortunate situations. You want to capture it all.


It's definitely in the details! By writing it down- your preserving those details.

Well there you have it, some clever ways to nudge your noggin.

Hope you enjoyed the post.
Have a great week!


Monday, December 17, 2012

Crafting Tip of the Week#161- Murphy's Oil Soap Indeed!

Hi Crafty Friends!

Have you ever heard of Murphy's Oil Soap?

It looks like this:
This stuff can help you with household applications but  did you know that it can help with stubborn paint on your paint brushes?

Next time you find you have paint brushes with gooped on, caked on, stuck paint- dip the paint brush in Murphy's oil soap for 24-48  hours & watch that junk float off.

Have a great week!


Monday, December 10, 2012

Crafting Tip of the Week #160- Craftcycling...

 Happy Monday Crafty Bloggers!

Today I wanted to share another craft recycling idea.

I am sure I will have more to add as I keep finding ways to use things I might otherwise discard.
This week I wanted to share that if you find yourself buying drinks in clear plastic cups that come with those domed plastic lids, you should keep them.

They are great to contain paint, glue, water and other crafty solutions that you need to use with a paint brush.
Here are a few reasons why:
1- You can control how much you want to use for a particular project and only pour in a small amount at a time. It's better to use a little at a time and add to it as you need it.
2- If the product is in its' own container with its' own assigned brush you won't contaminate other paints or solutions.
3- You will have a lid on it with a hole in the center that will allow for some time to rescue your liquid product being contained if it falls over-spill control.
4-You can rest your brush inside the cup.
5-You can easily see what is inside.

 Now you may come up with some more ideas as to why this would work for you and that would be great. I just know it's been a big help to me the few times I tried it. It's especially handy when you have kids working on school projects that involve paint.

Hope you remember to craft-cycle your see thru-dome lidded cups!

Tune in tomorrow!

Monday, December 3, 2012

Crafting Tip of the Week#159- Tip about your Tips...


Hello Crafty Friends!

So you have any idea about the title for this week's tip?

I'll tell ya...it's all about saving your Elmer's glue top tips, those orange ones that look like this:


You simply  take that entire cap & screw it onto a Plaid/Folk Art Acrylic Paint Bottle and it will give you great control during application. It  will help you to actually apply the paint in easy strokes of fine lines giving you the ability to  do things like write names with your paint, draw intricate shapes and even trace elements with your paint.

So think twice about discarding those orange screw caps. They fit snuggly on some of those acrylic paint bottles and can really aid your creative process with paint. Think twice before discarding those orange screw cap lid and turn them into your acrylic paint fine tip tops.

Thanks for stopping by today.

Have a great week.


Monday, November 26, 2012

Crafting Tip of the Week #158- Baby Bottle Brushes Not Just for Baby Bottles Anymore!

Hello Crafty Friends!

I bet you're wondering what I am alluding to with that off the wall post title.
Has it got your wheels turning?
Any guesses?
I suppose I shouldn't make you wait any longer then.
You know how a couple of Fridays ago I shared those adorable "Woodlands" ornaments from Tim Holtz?
Well, I got to thinking.
Couldn't I find a way to make that adorable Christmas tree myself?
Well, I sure did.
Here's what you'll need:
*Baby Bottle Brushes (You can find them at the Dollar Store)
*Wood cubes or circles for your base( Any local craft store carries them & some dollar stores too)
*Glue Gun/E6000 (A strong adhesive)
*Wire Cutter/ Scissors may due in a pinch
*Sharp Scissors for cutting the bristles
*Glitter/Mica Flakes
*Spray Adhesive
*Optional (spray paint, spray inks, mini misters with your own concoction of color to add to your tree)
 Since the bottle brushes come in white already it lends itself to a white Christmas feel . The inks would be if you wanted to add color or give it a vintage look.

Basically, you cut the brush portion of the bottle brush off its' base using a wire cutter. Then cut the brush in half or to whatever size tree you want. Then you cut bristles on the right & left at an angle, creating that tree shape. After that you adhere the bottom of the tree to your wood base piece.
If you want it raw that is all you do.
If you want to add color to the bristle brush &/or base, I suggest coloring, inking or painting them first. Then after they dry you can assemble them.
They should look like this:
I decided to use empty spools of thread I bought at my local scrapbooking store and I adhered card stock. I also used spray glitter on the trees after spray painting them an ivory color.
It is difficult to see how adorable they are  in person.

You can easily add little beads, tiny garland made from jewelry findings or petite tinsel. The possibilities are many. You have to try it out.

Have a great week.


Monday, November 12, 2012

Crafting Tip of the Week #157 - Don't Fret over Fraying


Hello Crafty Friends!

Thanks for tuning in today. Today's post is more of a quick tip on one way to help stop your ribbon from fraying once it has been cut.

I am sure most if not all of you know about  using the heat of a lighter but did you know that you can use glue to seal your ribbon edges?

Yes, that's right. As long as it is a wet glue...it will do.
Simply place & spread a small, thin bead of glue along the edge of your ribbon, seam binding and even lace edges and it will seal them beautifully.

I have had the most success with the following glue:
-Martha Stewart white glue with the brush attachment (white glue)
-Tombo Mono Adhesive in the green bottle (white glue)
-Mod Podge (white glue)

There is no need to use a lot, just make certain to cover the edge completely and let it dry.

From my experience it would seem the white glues are the most successful for this.
Most of us already have adhesive on hand in our craft room so it is great to have yet another use for it.

Have a wonderful week!


Monday, November 5, 2012

Crafting Tip of the Week #$156- Don't Ditch that ...

Overused Cricut or Silhouette Mat! You know the ones, my crafty friends. When you have used up your  cutting mats til' they just don't work for you anymore why not craft-cycle them? I know you can always reapply adhesive and continue to use them but in the event that you don't want to do that I have some other uses up my sleeve.

I know what you're thinking...how in the world can I use that in my  craft projects?
Well, simply put- it's not for your actual projects.

You can use it to help you during your creative process- just make sure there is no more adhesive left on it. Otherwise, it won't work.
Here are a few ideas:

1- As an extra cutting surface. For example: if you are using a rotary knife to cut fabric, you can place your fabric on your worn (non-sticky)  mat & use your rotary knife on it. You can also use your craft knife for fussy cutting. After all, it is a cutting mat.
2- As a back up cutting surface to take to crops. Just leave it in your crop bag & label it with a permanent marker. 
3- As a measuring guide.
4- In a pinch as an extra surface for inking, painting & chalking.
5- To set your acrylic stamps on temporarily when you're working with several at a time. You can lay them out on the mat, figure placement and keep them there until you are ready to work with them.

Maybe you can think of some more uses. I sure hope you find this helpful.
Have a wonderful week!

Monday, October 29, 2012

Crafting Tip of the Week #155- Shoeless Shoe Storage

Hi Crafty Friends!

Today I thought I would share a storage solution tip.

You know those shoe cubby storage units designed to hold your shoes?
Why not give it a try in your craft room?

I purchased one at Target on sale for under $15 USD and it has 15 cubbies.
I then purchased some really cute bins from the dollar spot at Target to place inside the cubbies and those hold my flowers.
Want to see?
Sorry for the poor quality of the photo but you get the idea.
I plan on painting those containers because they don't really match my decor and I wanted them to be a neutral color. Then I will hang really cute tags or make labels to place on them identifying the color of flower in each container.
The empty one is sitting on my craft table. I was able to separate my flowers by colors using this cubby system and it is working great for me. Whenever I want I simply grab the container I need, look through it and select my flower of choice. Then I can easily place the container back in the cubby.

You could certainly store other things as well. They are rather deep so you could fit 2 of these particular bins per cubby if you needed too. You don't necessarily need to place a storage container in the cubby hole. You can simply use as is to store your hand held tools, adhesives, punches, stamps, acrylic blocks, paints, etc...
You can definitely get a lot of products, embellishments, tools and other useful crafty items stored in one large surface area with definite separation.

I hope you found this tip helpful.
Have a wonderful week!